Clematis General Sikorski
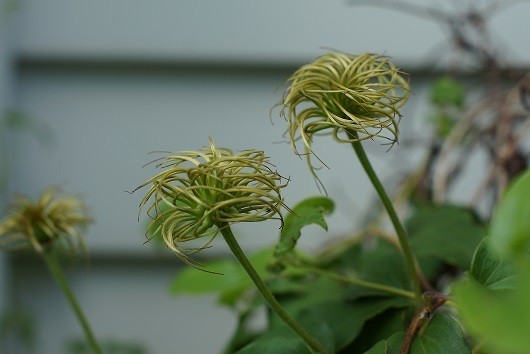
Mother Nature never fails to astound with its beauty. This amazing ball of swirls is what the clematis seed looks like on General Sikorski clematis after blooming several weeks earlier.

Hardiness Zone: 4 – 8
Sun Exposure: Full Sun, Partial Shade
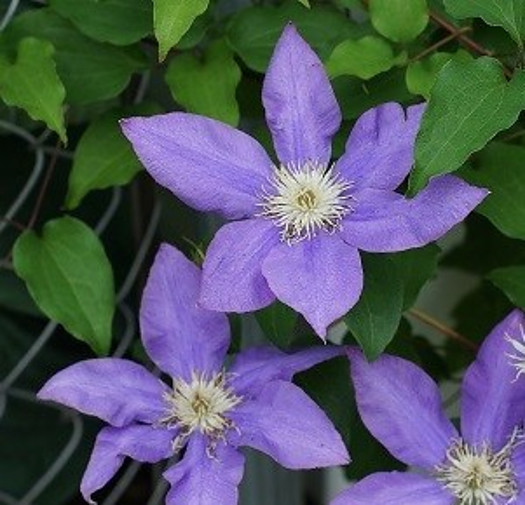
Blooming in late spring, the purple flowers are about 6-8″ across with a simple singular petal arrangement. It produces masses of flowers for weeks.

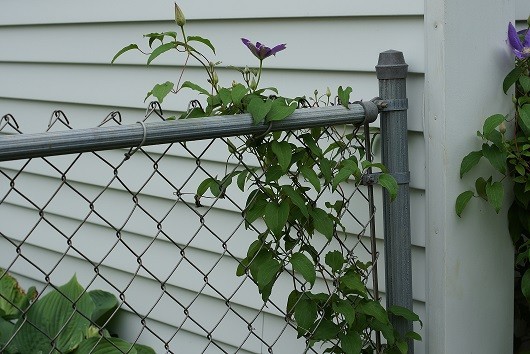
An easy to grow clematis, General Sikorski is a great climber that makes its presence known, but doesn’t go overboard in its growth habit. I train new shoots to grow onto a nearby fence and it readily obeys to grow wherever its placed, to a maximum of about 10′ length. Cut spent flowers to keep neat appearance. As a Class 2 variety, General Sikorski is one of the early to midseason flowering cultivars and rebloomers. It blooms in early summer on the previous year’s growth. This is followed by a second flush of flowers that appear on new growth.

In the spring, the dead and weak branches should be removed, and the remaining shoots cut back 12″ above well developed buds. Flowers in the spring are produced from last years’ branches, so don’t cut this variety completely down. New shoots will grow from the base of the plant which will provide the second flush of flowers in late summer. This variety produces masses of flowers which can be quite weighty, so be sure it has sufficient support.
My clematis grows happily in full sun on a trellis placed a few inches from the house and tolerates the hot dry summer quite well. Clematis Sikorski will also tolerate partial shade, as do many other clematis varieties.
Planting Clematis
Clematis like to have cool roots so planting among a bed of foliage, or with a low growing shrub would be ideal. Provide partial to full sun for the top of the plant.
Dig a hole several inches deeper than the pot the clematis came in. If your clematis is in a pot, use caution removing it so as not to break new shoots at the base of the plant. Set the root ball in the hole below the soil level so that when the soil is added to fill, it comes up to the first set of leaves. Make sure you provide a stake to support the new plant. Water well and keep the soil moist into fall until it is well established.

