Dividing Perennials in Clay Soil – What You Need to Know
Dividing perennials in clay soil is different than dividing perennials in loamy or sandy soil. Clay soil can add some unique challenges to the basic guidelines for dividing perennials.
These tips will help you through challenges when digging in clay soil and transplanting perennials.
The basic guidelines to divide perennials are:
- Water the plant thoroughly a day or two before you plan to divide it
- Use a shovel to dig the clump of perennials to be divided
- Gently lift the plant out of the ground
- Remove any loose dirt around the roots
- Separate the plant into smaller divisions by gently teasing the roots apart
These are general steps and can be broken down into further detail depending on the plant being divided.
For this discussion, let’s look at each of these general steps in the guidelines and how to overcome the challenges of dividing perennials in clay soil.
Guideline Step 1: Water the plant thoroughly a day or two before you plan to divide it
This is a good practice. Why?
- A plant that is well hydrated before it undergoes the process of being divided ensures greater survival of the divisions.
- Thoroughly watered soil is easier to dig than dry hard soil.
The challenge of wet clay soil and dividing perennials
Stepping on wet clay soil around the base of plants can compact the soil around the roots. This reduces air and water movement through the soil, which is essential for healthy root growth. Wet clay soil that has been compacted dries especially hard and impedes the ability of plants to expand root systems.
Allow the soil to drain thoroughly before digging. The soil should be moist and not wet. Clay soil that is moist can appear dry on the surface but be moist below. Digging in wet clay soil can create chunks of compacted soil that dry very hard and don’t easily break up.
Watering your plants thoroughly is a good practice, however, I would try to keep the water within the perimeter of the clump you will be digging, rather than water the whole area. The roots will get the water they need, and you will avoid compacting the soil as you step around the plant you are dividing and nearby plants.
Guideline Step 2: Use a shovel to dig the clump of perennials to be divided
The challenge of digging clay soil
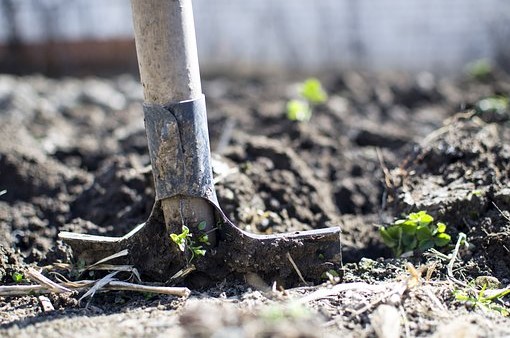
Some people like to use a sharp shovel to cut through clay soil, but I prefer to have the least amount of contact between the soil and the tool for this reason:

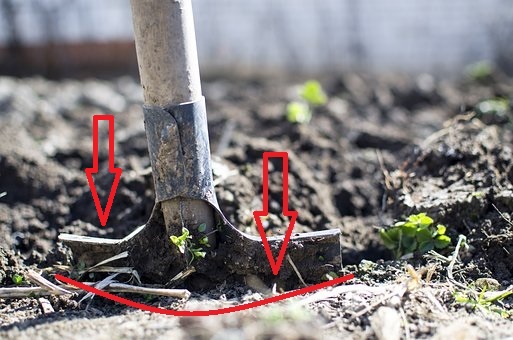
When inserting a shovel or spade into clayey soil that is moist, the tightly packed clay soil particles can form a wide smooth surface on both sides of the shovel.
This flat smooth surface of soil compacts against the roots. It also leaves an edge of compacted soil in the garden where the plant was dug from. This edge can slow root growth and affect water flow.
If possible, consider using a spading fork to dig around the perimeter of the plant and reduce the amount of tool surface in contact with the soil. The soil will “break” between the tines of the spading fork, reducing the amount of compacted soil.
Using a spading fork also loosens the soil around the plant and helps to prevent damage to the roots. Clay soils can also be very rocky. The tines of a spading fork slide between rocks easier than a shovel.
Guideline Step 3: Gently lift the plant out of the ground
The challenge of lifting the plant
I have typically found that digging up an established plant in clay soil means I have to dig deeper in order to assure I have the whole root system. In loamy or sandy soils, the root ball can be raised and “breaks free” much easier than in clay soil. This is especially true for plants with long tap roots.
In clay soil, sometimes the root ball doesn’t raise or “break free” as easily as in loamy soil, so you are forced to dig deeper to capture the whole root system. Because of this, the root ball can get large when digging a perennial in clay soil. Larger than you might have originally anticipated.
If I can’t lift a root ball out of the ground because it’s too heavy or bulky, this is what I do. I lay a tarp right next to the edge of the cut ground. Then I push a shovel underneath the root ball and pull the plant up onto the tarp with the shovel. It may take some adjustments to leverage it so the root ball is centered on the shovel and doesn’t fall to one side or the other.
Another method is to just roll the ball out of the hole and onto the tarp. Now you can drag the plant wherever desired.
Guideline Step 4: Remove any loose dirt around the roots
The challenge of removing clay soil from around roots
You may be able to remove some of the soil from around the roots, but be cautious with fine roots. Damp clay soil can break off in chunks and the roots can break off too.
Assure that the entire root ball is supported when lifting. External areas of the root ball that are not supported can break off, and fine roots will break off into these chunks as well.
Guideline Step 5: Separate the plant into smaller divisions by gently teasing the roots apart
The challenge of “gently teasing roots apart” with clay soil
Heavy clay soil clings to roots. It’s difficult to “tease” roots apart in clay soil. It will be easier to inspect the root system if you remove some or all of the soil. How much soil you need to remove will depend on the plant and your ability to see the condition of the root system.
To remove the soil from the roots, I use ahose nozzle with different spray patterns. Either gently spray the root ball on the ground or hold it above the ground and spray all around the root ball to remove the packed soil from between the roots. You will need a place where you don’t mind the soil to collect as it falls off.
You can also use a large bucket full of water and submerge the roots. Swish the plant in the water every now and then to help the soil loosen. The soil particles will fall to the bottom of the bucket. Remove any remaining soil as needed by gently spraying with a hose nozzle.
Heavy clay soil can have its challenges when dividing perennials, but it’s not an impossible task. These methods will help you work through the challenges of digging and dividing perennials in clay soil. When you know what to expect and prepare for, it makes the task a whole lot easier.
Explore More:


Comments
Dividing Perennials in Clay Soil – What You Need to Know — No Comments
HTML tags allowed in your comment: <a href="" title=""> <abbr title=""> <acronym title=""> <b> <blockquote cite=""> <cite> <code> <del datetime=""> <em> <i> <q cite=""> <s> <strike> <strong>