Is An Inexpensive Greenhouse Worth Considering?
Are you ready to start growing plants in a greenhouse and looking for a budget-friendly greenhouse idea? A cheap greenhouse can create a warm environment for plants just as an expensive greenhouse can. If an expensive greenhouse is not within your budget, or you are not sure if you want to make a full commitment to a greenhouse, is an inexpensive greenhouse worth consideration?
Wanting to get seeds started and with no plans for an elaborate greenhouse, I decided to try an inexpensive Walk-in Tunnel greenhouse from Vevor.
This review will cover the structure, assembly, securing the structure, some key points discovered during assembly, and conclusion.
My Inexpensive Greenhouse Review
I chose the 15 ft. x 7 ft. x 7 ft with green cover (available in white too). There are options for smaller or larger sizes to choose from.
What’s in the Box?
The Frame
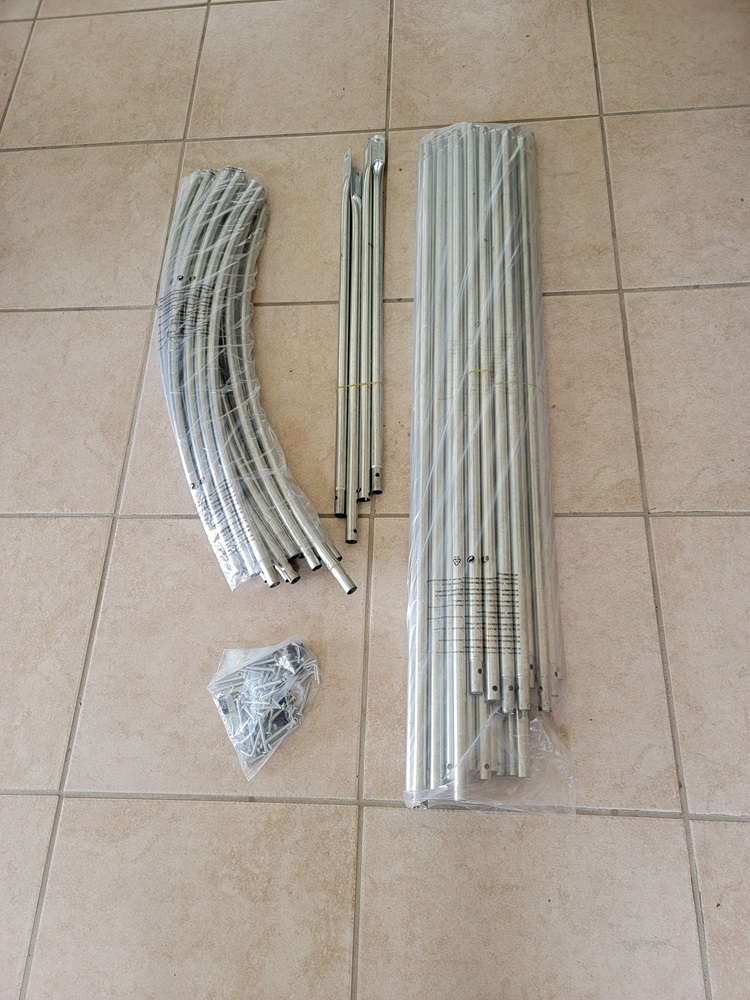
The greenhouse comes with frame pieces that are galvanized steel tubes to 0.8″ diameter and 0.02″ thickness. It includes 3 top beams for the dome and two diagonal poles that are placed at opposite sides for stability.
The frame pieces are wrapped in plastic packages. Each piece is identified with a number stamped on the side and rubber banded together inside the package. The two diagonal support poles are rubber banded together but not wrapped in plastic. They are easy to distinguish by the flat ends.
All tools needed for assembly are are included in one package. There are screw covers and plugs for the end of open frame pieces so they don’t cut the cover. Included are tie down ropes and stakes.
The Cover
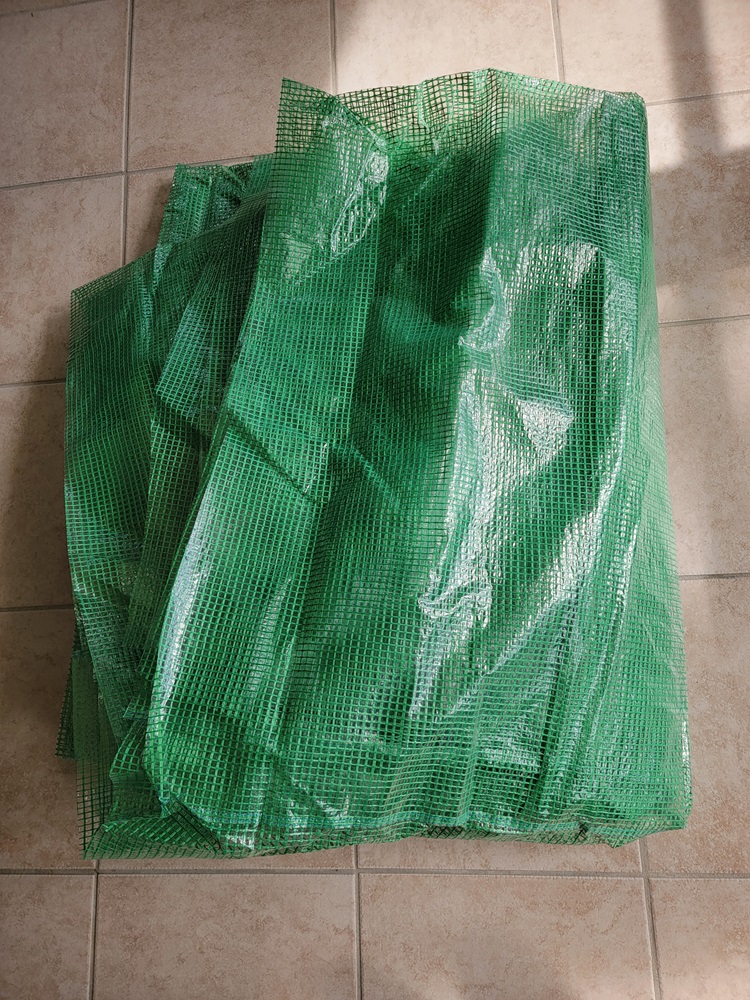
The PE cover is folded, wrapped with ties, and easily removed from the long box. The picture shows the cover with the ties removed.
The cover seams are overlapped and double-stitched. The velcro around the windows is double stitched, as are the loops for the tie-down ropes and ties to hold the windows open. For the cost, the overlapped and double stitched seams are impressive. Double stitching increases durability.
Assembly Instructions
The assembly instructions provide a bill of materials so you can check off all the pieces. My box had been damaged in transport so the assembly instructions were missing, but I was able to find them online.
Tip: If you need the assembly instructions for the 15 x 7 x 7 Vevor Walk-in Tunnel Greenhouse you can find them at:
https://manuals.plus/vevor/ydsdwsl1577ftl1fiv0-portable-plant-greenhouse-manual#google_vignette.
Assembling the Vevor Walk-in Tunnel Greenhouse – Key Points
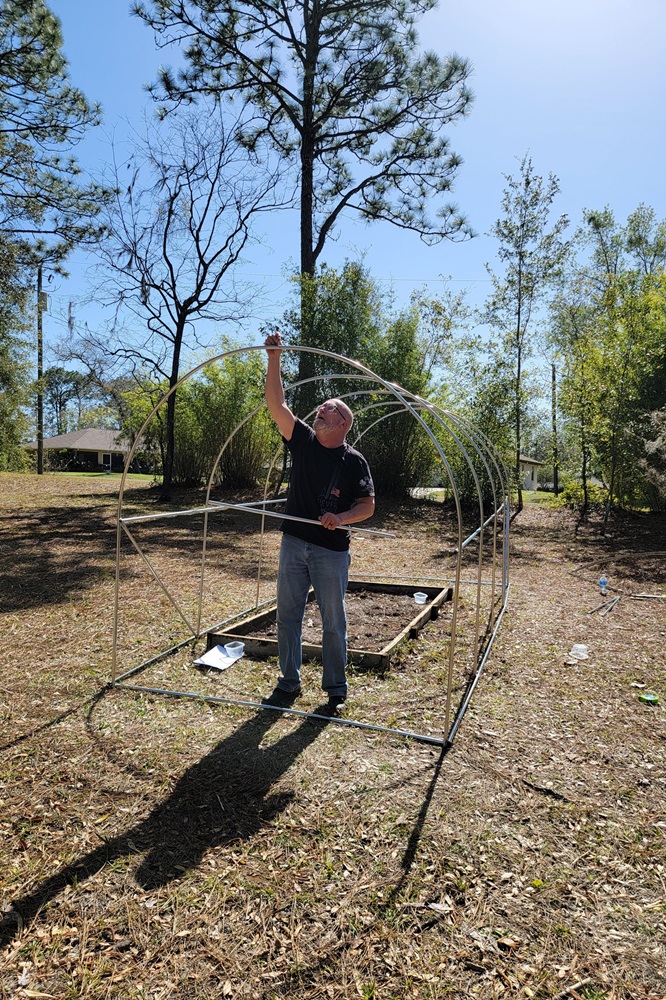
The instructions are somewhat vague on the assembly of the corners and diagonal supports. If you aren’t good at visualizing how the pieces go together, you may want to look at some YouTube videos beforehand. Otherwise, the numbered parts easily assemble as shown by the diagrams on the instructions.
Although some people have assembled the greenhouse on their own, I recommend that two people will make the job a lot easier. We built it from the ground up, and when we started putting the curved pieces on, one of us had to hold one end while the other worked on the opposite side or it would have collapsed. Perhaps some one more engineering-minded will do fine on their own.
Make sure the holes in the ends of each frame piece are facing the correct direction as you assemble. If one piece is 90 degrees from the other so the screw won’t go through both sections, you know something is not assembled correctly.
Secure the greenhouse frame after putting the cover on
If the greenhouse is set up and not secured to the ground, it will blow over with a good wind gust.
I had the frame set up and the cover on, planning to finish the installation the next day. An unexpected storm came through in the morning and the wind got under the cover and knocked the whole unit over onto its side, and eventually upside down, rocking back and forth from the wind.
While this might initially seem like the end of the greenhouse, it was a pleasant discovery. When the frame was stood back up (without the cover), it had no signs of being damaged. It was not bent, twisted, or loosened. I scooted it back into position without having to make any adjustments other than squaring it back in position. The cover was not damaged or torn.
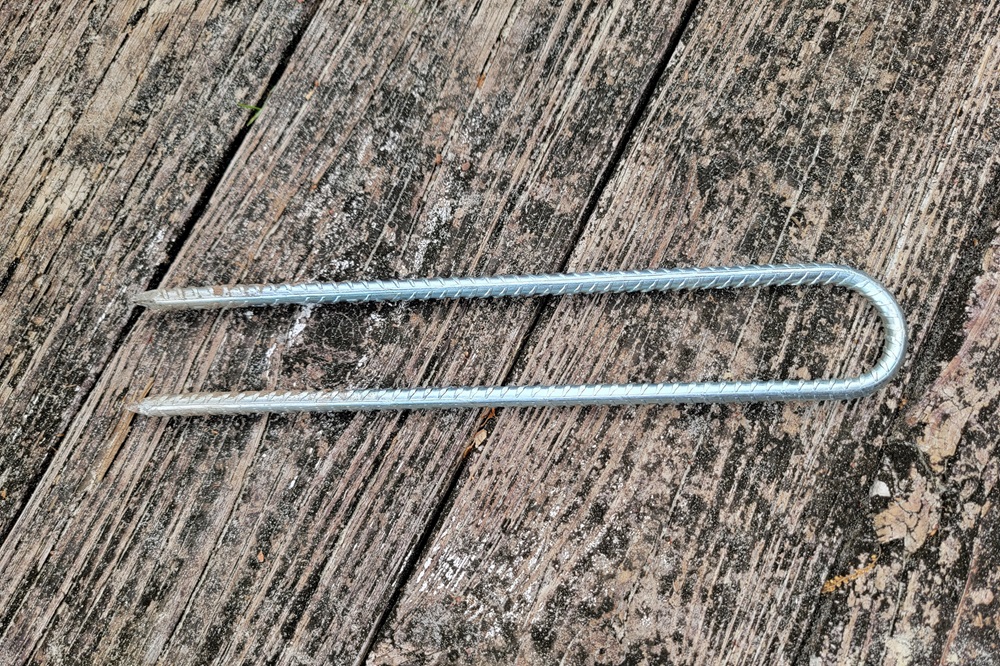
For added security, we chose to pound rebar u-anchors around the base of the frame at the sides and corners. The 1.5-inch x 12-inch curved rebar stake is shown and was a separate purchase. I feel confident the greenhouse will not be blown over by gusty winds now.
Secure the bottom edge of the cover
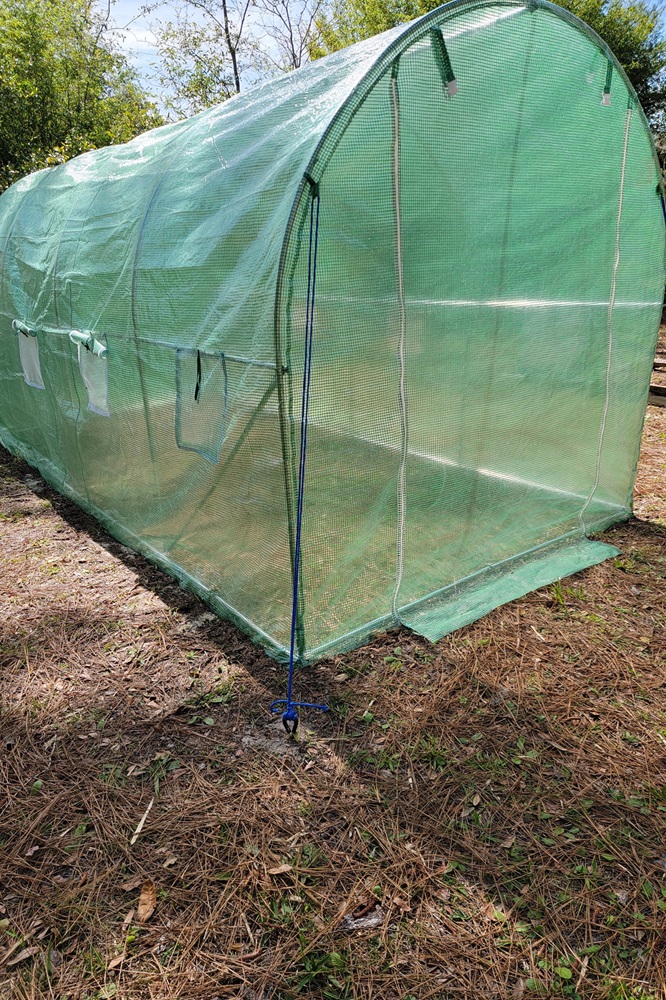
There is a flap along the bottom edge of the cover that extends about 6-8 inches. According to the instructions, for maximum stability it is recommended to dig a trench around the base of the polytunnel and backfill with soil.
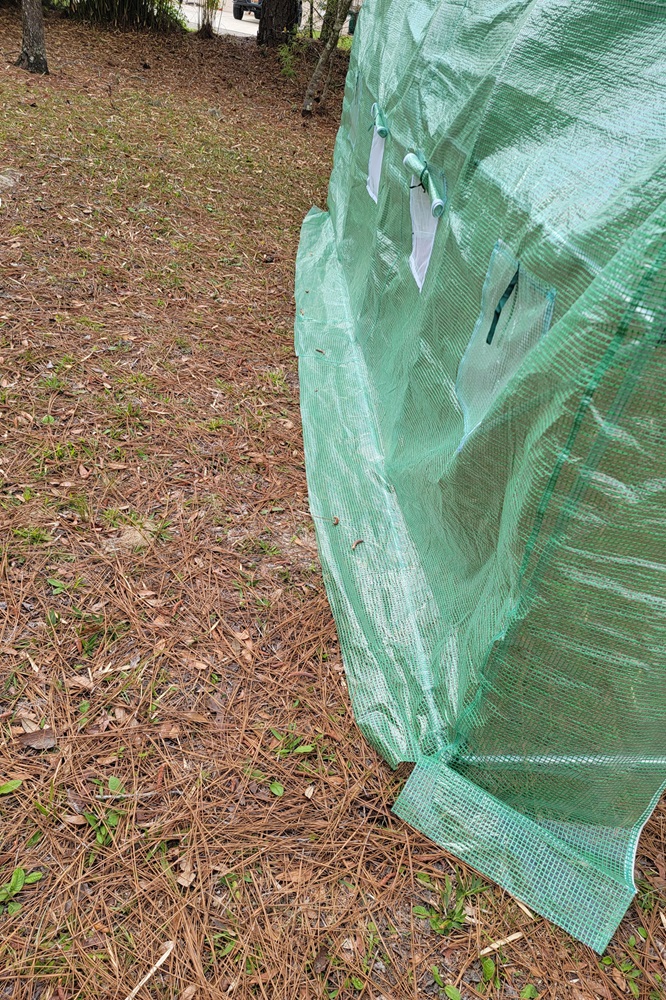
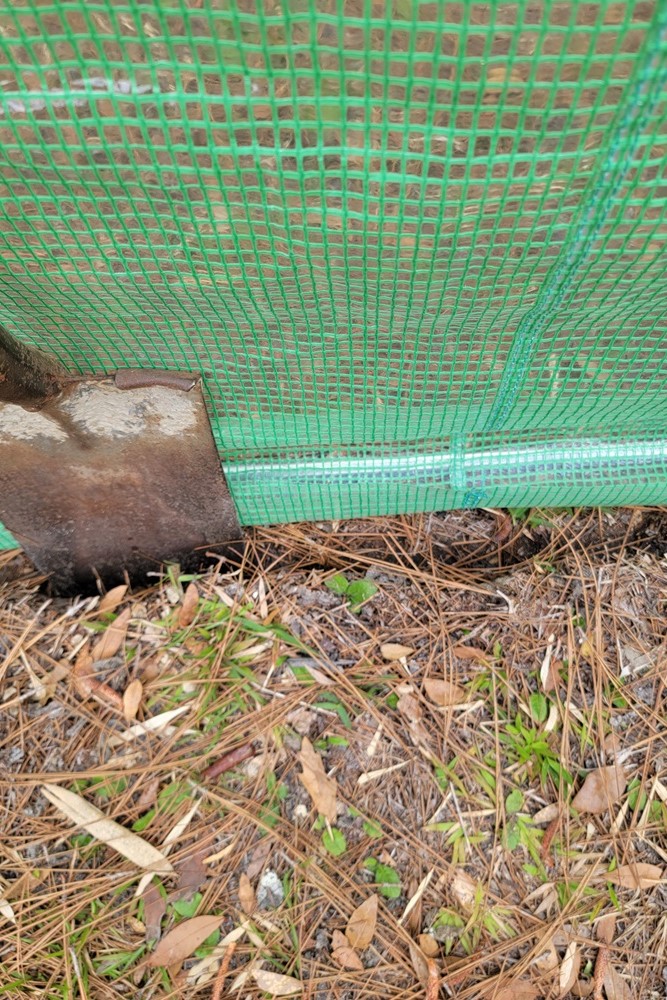
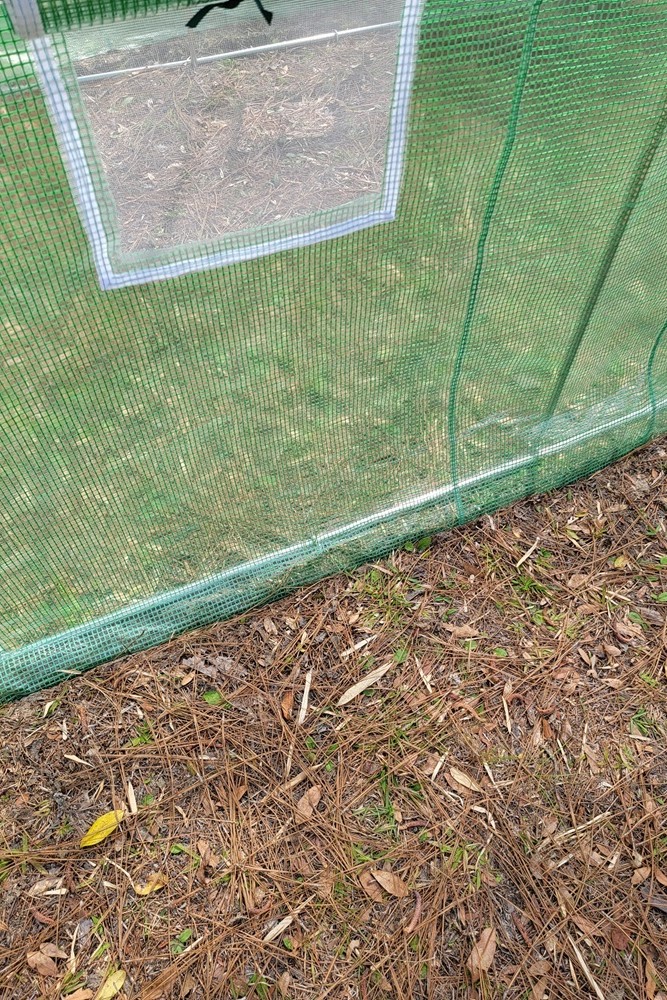
I used a square spade to dig the trench, push the cover down into it, and press the trench closed. The cover was durable and did not tear as it was pushed into the trench. I watered around the base to settle the soil. The result is a neat bottom edge that secures the base of the greenhouse.
The next day there was a heavy rainstorm and the inside of the greenhouse was completely dry. We have experienced several storms and the greenhouse remains secure.
Consider different stakes
The tie-down stakes are not as robust as I prefer. I suggest replacing with pet tie-out stakes or similar. I used dog tie-out stakes, but tent stakes or similar should work.
Conclusion
If you are on a tight budget and want to start seeds, grow plants into the cooler seasons, or even store yard items, an inexpensive greenhouse is a worthy consideration. The quality of the components and structure of this greenhouse was a pleasant surprise for the budget cost.
Pros of buying an inexpensive greenhouse:
- Affordability: Inexpensive greenhouses are more budget-friendly, making them accessible to a wider range of people.
- Easy setup: Many inexpensive greenhouses are designed for easy assembly, making them suitable for beginners or those with limited DIY skills.
- Experimentation: A low-cost greenhouse allows for experimentation with gardening and plant propagation without a significant financial investment.
- Space optimization: Inexpensive greenhouses can help maximize growing space, especially for those with limited outdoor space.
Cons of buying an inexpensive greenhouse:
- Durability: Lower-cost greenhouses may not be as durable or long-lasting as higher-end models, potentially requiring more frequent repairs or replacements.
- Limited features: Inexpensive greenhouses may lack certain features or materials that could enhance functionality and performance, such as better insulation or UV protection.
- Size constraints: Cheaper greenhouses may be smaller in size, limiting the variety and quantity of plants that can be grown.
- Potential for instability: Some low-cost greenhouses may be less stable in extreme weather conditions, requiring additional reinforcement or maintenance.
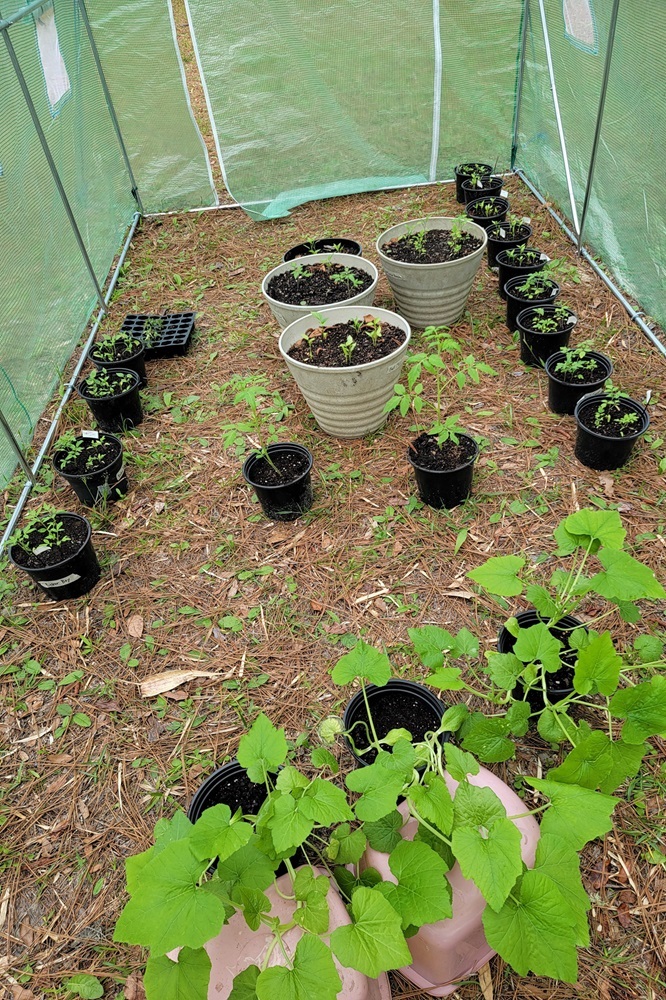
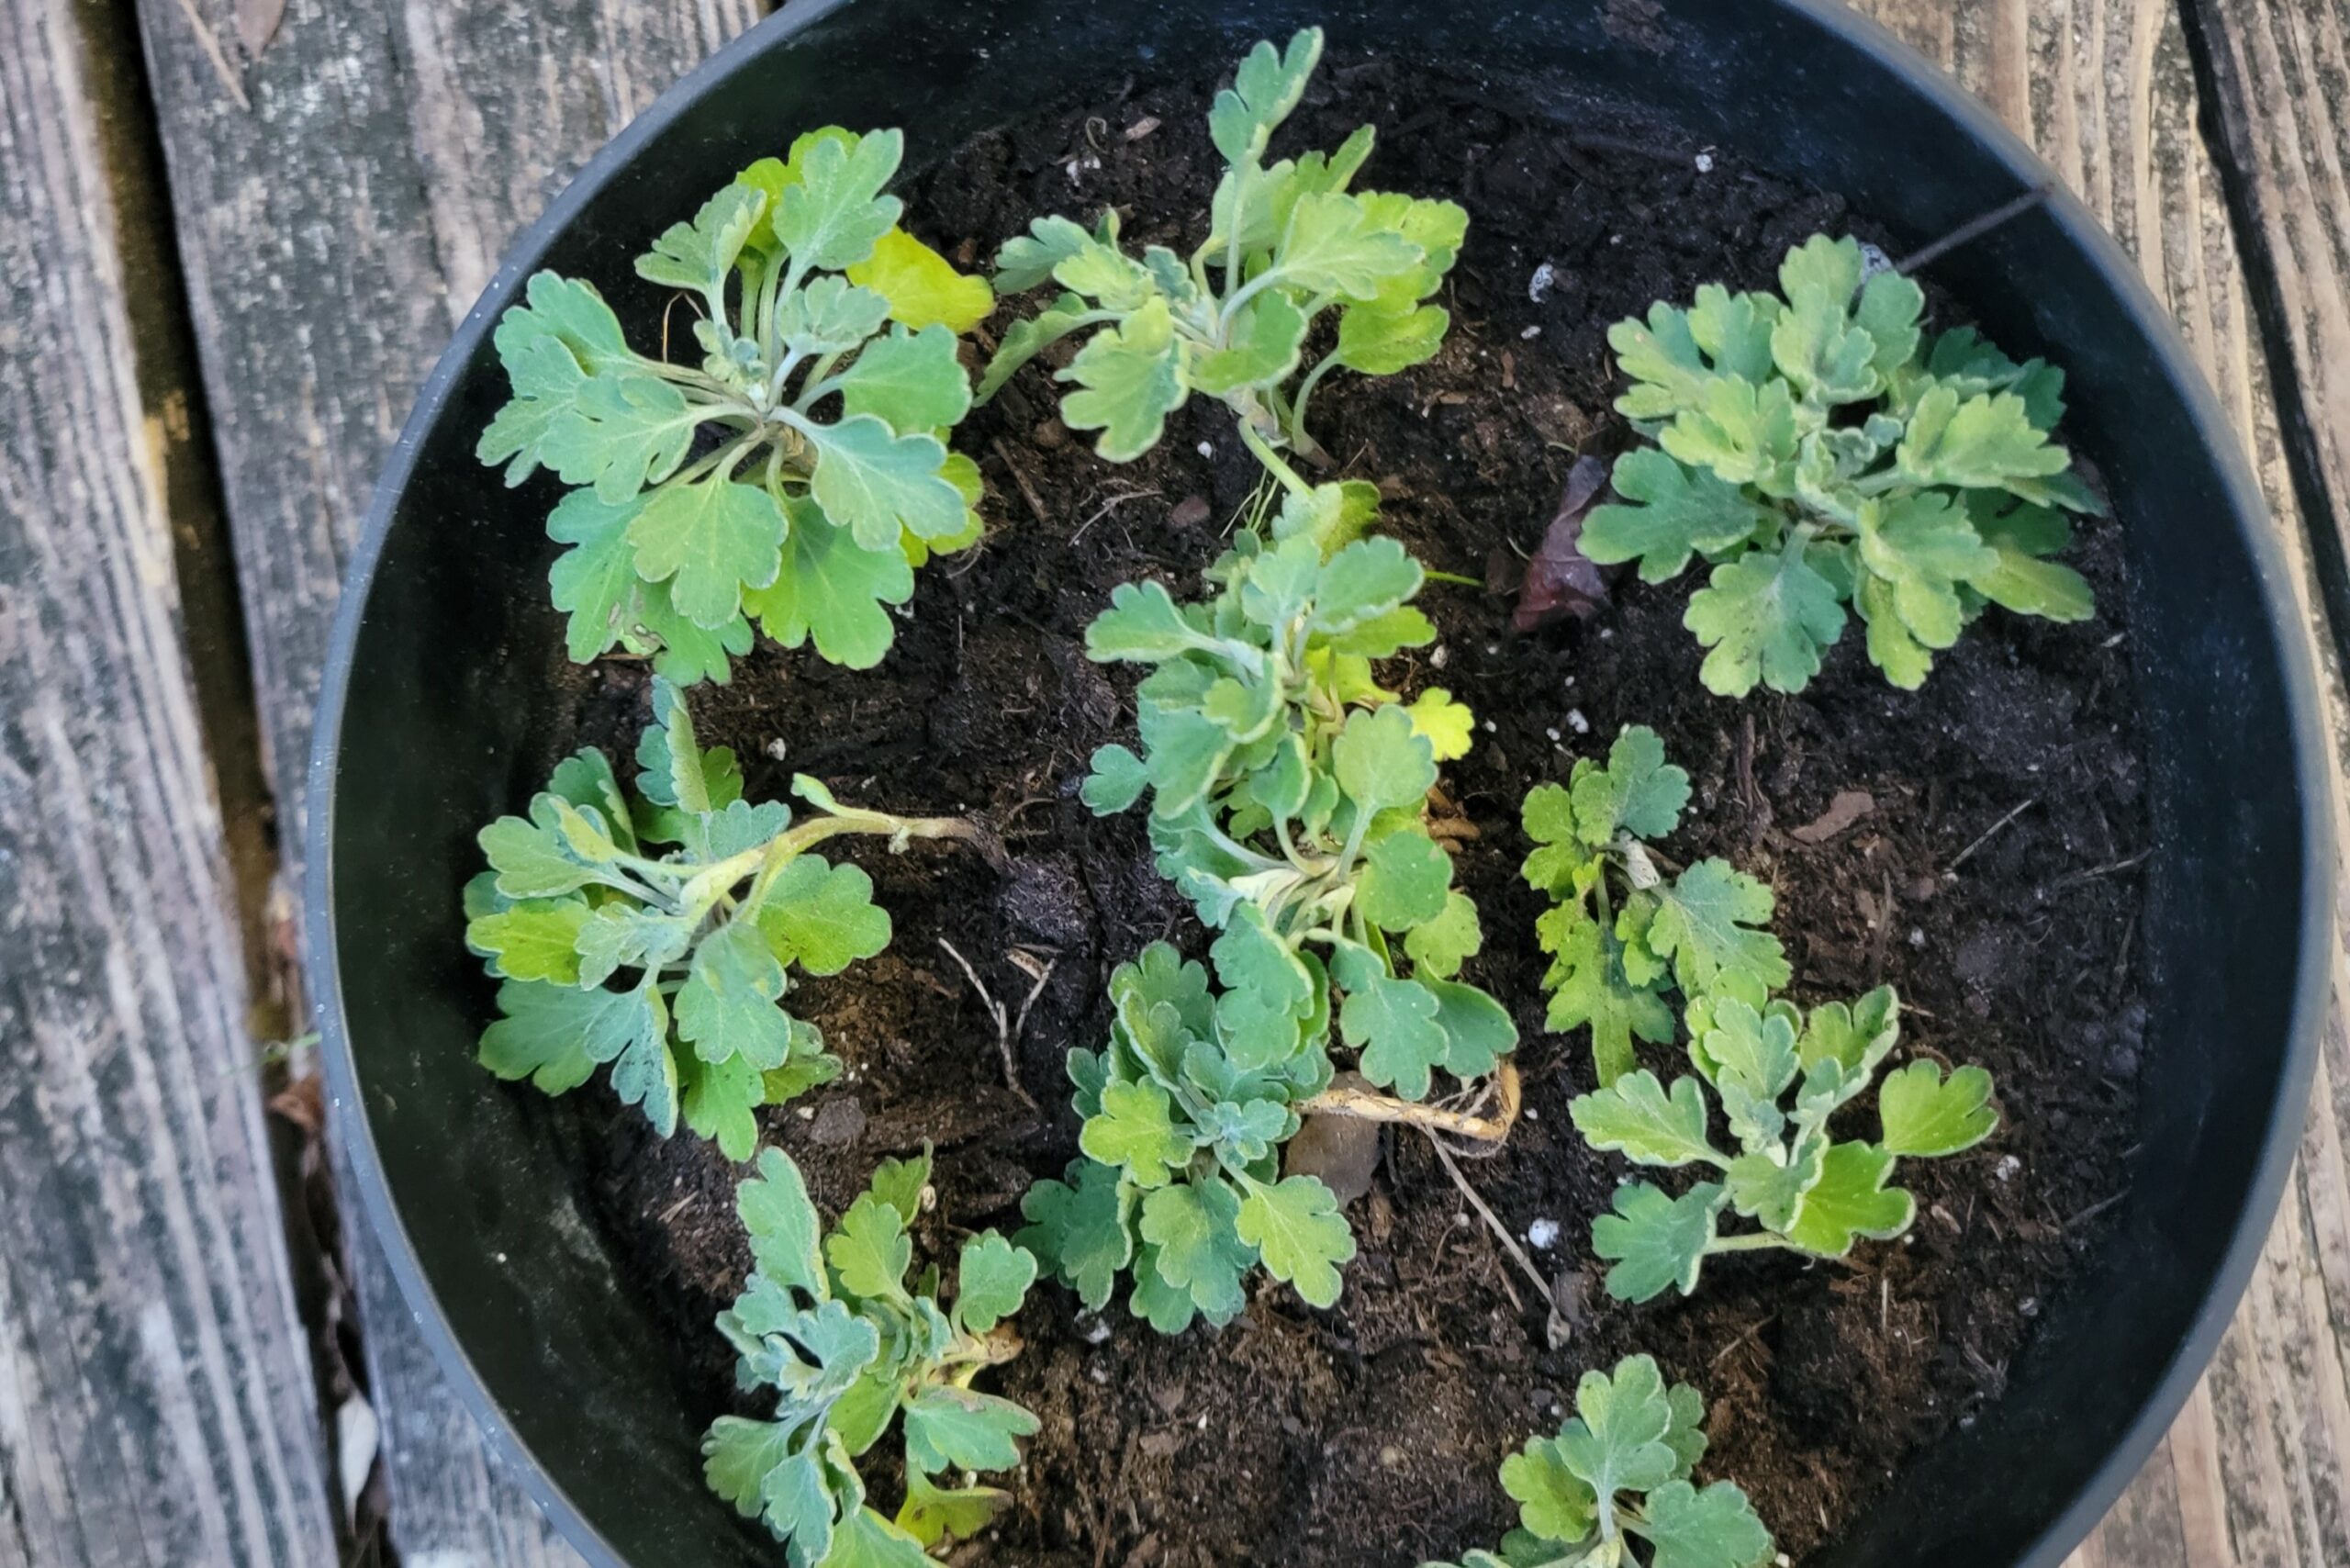
The plants inside my Vevor greenhouse are doing well!
Explore More




Comments
Is An Inexpensive Greenhouse Worth Considering? — No Comments
HTML tags allowed in your comment: <a href="" title=""> <abbr title=""> <acronym title=""> <b> <blockquote cite=""> <cite> <code> <del datetime=""> <em> <i> <q cite=""> <s> <strike> <strong>